
Technical Articles
How Should an Old Coupling Be Measured for Replacement? Dimensions, Photos, and Wear-Correction Checklist
Before Measuring: Decide Whether to Copy the Old Part or Restore the Original Design Interfaces
The old part may be worn, deformed, or modified in the field. The purpose of replacement measurement is not to duplicate every existing dimension. It is to reconstruct three interfaces: the connection to the driving shaft, the connection to the driven shaft, and the spatial relationship with surrounding equipment and the guard. If the original drawing, equipment manual, or shaft-end drawing is still available, use it as the baseline and verify it against actual measurements.
Removal and shaft rotation must follow site requirements for energy isolation, lifting, and fall prevention. Large coupling halves must not be left hanging from a shaft end on temporary supports. The responsible person at the site should approve the specific safety plan.
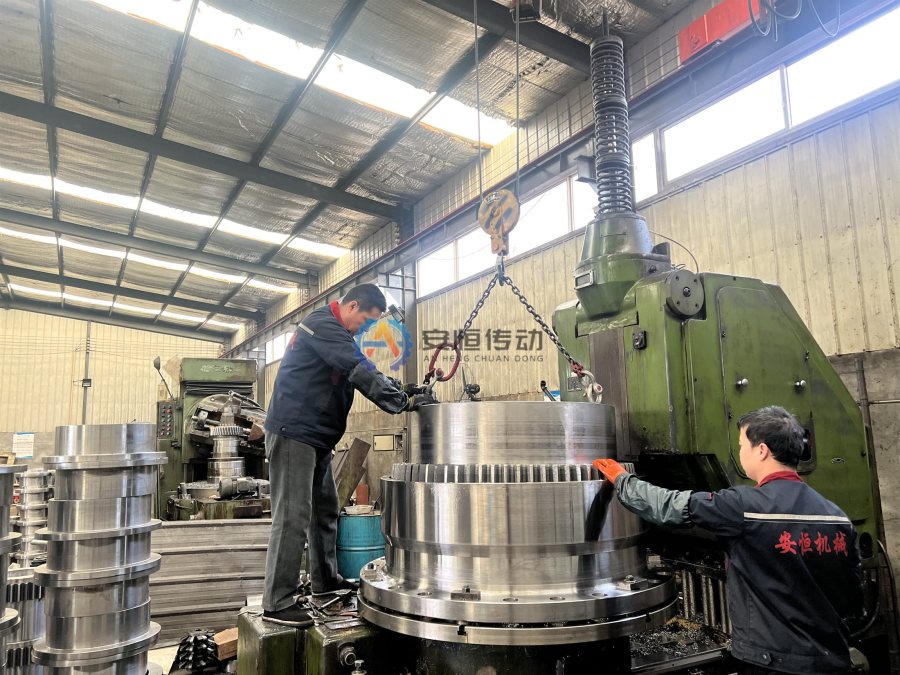
Step 1: Record the Installed Arrangement Before Removal
First photograph the complete drivetrain and identify the motor end, gearbox end or driven-machine end, direction of rotation, and installation orientation. Measure the maximum available outside diameter inside the guard, axial removal clearance, distance between shaft ends (DBSE), and possible interference from nearby bolts, pipes, or brakes. Use a paint marker to index the two coupling halves, flanges, and spacer. Include a steel rule in each photograph, but do not use wide-angle photographs as a substitute for precision measurement.
Step 2: Record Dimensions from Consistent Datums
| Area | Recommended measurements | Common mistake |
|---|---|---|
| Overall assembly | Overall length, maximum outside diameter, length of each half, and DBSE | Measuring only the assembled length without distinguishing shaft insertion depth |
| Shaft bore | `d1/d2`, effective depth, straight or tapered bore, and steps | Taking only one measurement at the most heavily worn point |
| Keyway | Width, depth, position, end configuration, and actual key dimensions | Treating key top clearance as keyway depth |
| Flange | Outside diameter, thickness, pilot, and face datum | Referencing a worn or burred edge |
| Hole pattern | Quantity, hole diameter, pitch circle diameter, hole type, and angular orientation | Measuring only adjacent-hole spacing without checking the complete pattern |
| Gear coupling features | Sleeve, hub, seal grooves, and lubrication ports | Using backlash from worn teeth to define new-part dimensions |
| Brake drum/disc | Diameter, working-face width, position, and connection dimensions | Ignoring the relationship between the brake centerline and the working face |
Measure every critical dimension from at least two directions and record the instrument, units, measurement location, and any difference between readings. Measure circular parts along perpendicular axes to identify ovality, uneven wear, or burrs. If the pitch circle diameter cannot be measured directly, record the center distances between several holes and the number of holes. A draftsperson can then reconstruct the geometry and cross-check it; do not fill in values by eye.
Step 3: Verify Shaft-End Dimensions Independently
If the hub bore has become loose, its diameter no longer represents the shaft's design dimension. Measure the cleaned shaft extension diameter, usable length, shoulder, fillet, key, and keyway, and inspect for scoring, fretting corrosion, and plastic deformation. Fit tolerances, keyway standards, and fillet clearances cannot be inferred from caliper readings alone. Determine them from the shaft drawing, original technical documents, or a manufacturing drawing approved by both parties.
International replacement projects may involve metric, imperial, or different keyway systems. Do not automatically round a reading to a common size simply because it is close to an integer. Any GB, ISO, DIN, ANSI, or other system identified on the original drawing must be checked against the applicable edition and the actual interface, rather than specified only by its standard abbreviation.
How to Take Photos That Can Be Reviewed
At minimum, photograph the complete installation, both shaft extensions, shaft bores, keyways, flange faces, pilots, the full hole pattern, seal locations, lubrication ports, nameplate, and close-ups of wear. Each detail photograph should include a scale aligned square to the measurement plane to limit perspective error. Match photo numbers to the dimension table, such as `P03:Driven-End Keyway` and `D07:Flange Pilot`, to support technical clarification across languages.
If the part is fractured or severely worn, preserve the fracture orientation and unworn areas. Identify which dimensions represent the “as-measured condition,” which have been “restored from the shaft-end interface,” and which remain “to be confirmed.” If a manufacturing drawing is required for further confirmation, proceed through the custom coupling from drawings process instead of ordering the part directly.
Complete a Closed-Loop Check Before Submitting the Data to a Supplier
Transfer the dimensions to a datum-based 2D sketch that includes at least a front view, sectional view, and hole-pattern orientation. Check item by item that the overall length equals the sum of the section lengths, the bolts can be removed, the hub can pass over the shaft shoulder, the brake drum aligns with the brake, and the guard can be reinstalled. Then add the equipment name, motor power, operating speed, service conditions, quantity, and original model, and use the International Buyer Coupling RFQ Checklist to complete the technical and export requirements.
If any information remains uncertain, ask the supplier for a list of dimensions to be confirmed or a manufacturing drawing first. For critical drivetrain components, confirming every shaft bore, keyway, fit, material, and interface on the drawing is more reliable than pursuing a replacement that merely looks identical in photographs.
FAQ | How Should an Old Be Measured for Replacement? Dimensions, Photos, and Wear-Correction
Which measurements are most important when an old coupling has no nameplate?
Record both shaft diameters and bores, keyway width and depth, hub length, DBSE, bolt circle, overall envelope and the direction of any axial movement. Mark each value as measured or estimated.
Can photos replace a dimensioned drawing for a replacement coupling?
Photos help explain wear and orientation, but they do not establish tolerances or a fit. Send clear, scaled photos with a datum-based sketch and the last known operating conditions.
Need an engineering selection or replacement review?
Send power, speed, shaft diameters, keyway, installation dimensions, drawings or old-part photos. We will review the working condition before confirming the model and quotation.