
Technical Articles
How to Install a Jaw Coupling on Cement Plant Rotary Valves and Screw Conveyors: Gap, Set Screws, Alignment
On cement plant dust collectors, the rotary valves and screw conveyors under the hoppers are numerous, small and serviced often, and their jaw couplings usually fail early for assembly reasons rather than overload: wrong hub gap, loose set screws or misalignment. All three are easy to get right with ordinary tools. Here is how to install a Jaw Coupling on these drives, how to check it in a dusty plant, and how to tell when the spider needs changing.
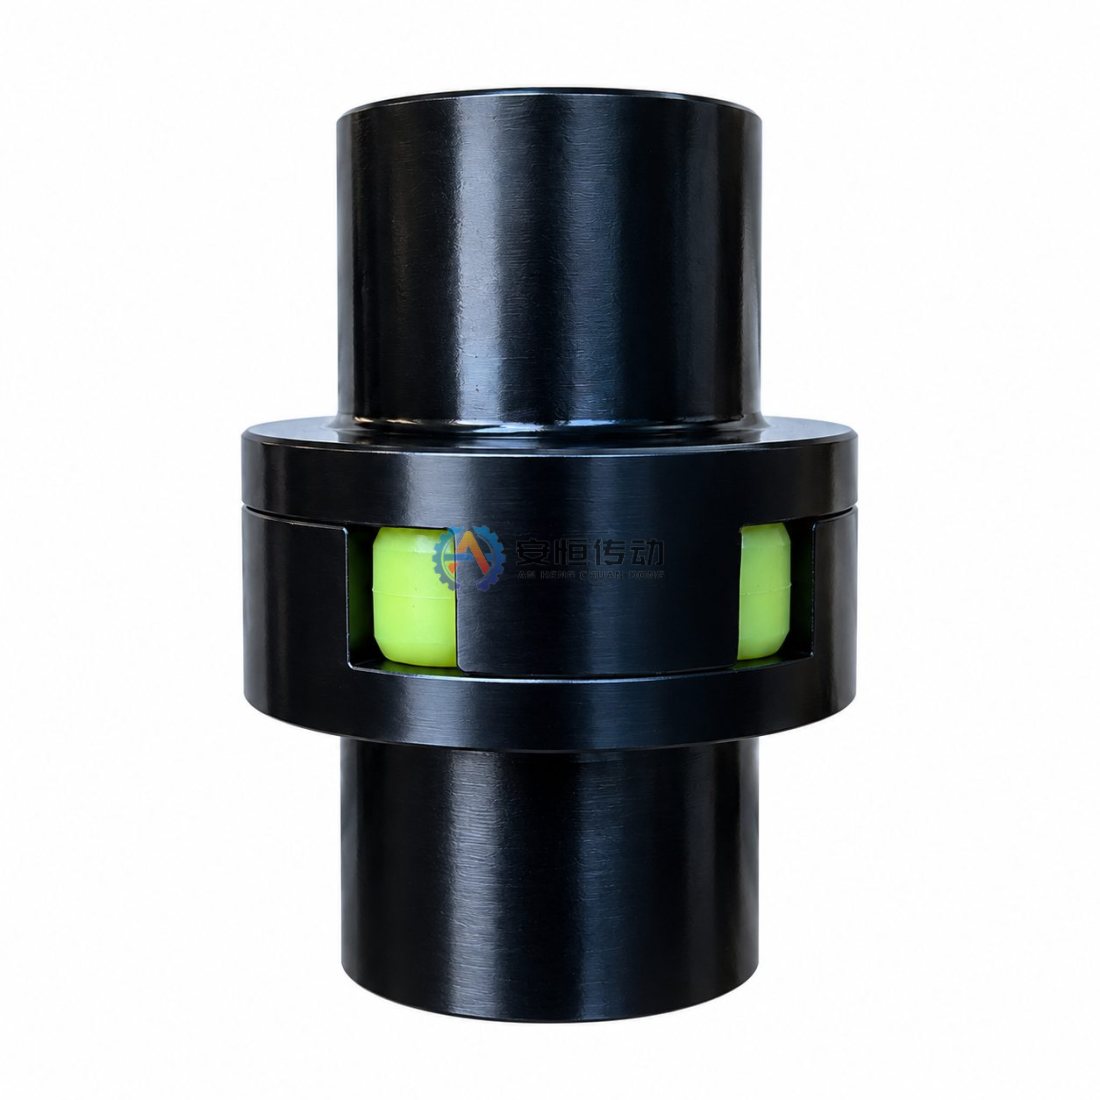
Before fitting: shafts, keys, bores and the old parts
Clean both shaft ends, remove burrs and rust, and check that each key fits its keyway snugly on the sides with clearance on top. The hub should slide on with light pressure or after gentle warming; if it needs hammering, the fit is wrong, and hammering also damages motor and reducer bearings and can crack jaws.
Check the hubs for cracked or chipped jaws and the new spider for cuts, hardening or swelling. Then read the old parts, because they usually show what went wrong last time:
- Petals worn unevenly or flattened along one edge: usually radial or angular misalignment.
- Spider centre melted, hardened or powdered, or hub faces polished: usually a hub gap that was too small, often together with misalignment.
- Fretting marks or a polished band on the shaft and key: usually a loose set screw or a worn key.
- Stepped or shiny jaw flanks: the spider wore through and metal touched metal.
Setting the hub gap
The gap between hub faces is set by the coupling design and given for each size on the installation drawing or data sheet, so take it from there rather than setting it by eye. If it is too small, the spider is squeezed axially, heats up and pushes on the motor and reducer bearings, and thermal growth of a warm valve or conveyor shaft closes the gap further in service.
If it is too large, the jaws engage over a shorter length, the petals carry the load on a smaller area and wear or tear at the edges, and the spider can walk out of the jaws. A simple method is to make a gauge block or shim to the specified gap, place it between the hub faces at several points around the circumference, and then lock the hubs.
Set screws and keys that stay put
Many jaw coupling hubs have a set screw over the key, which pins the key and stops the hub sliding along the shaft. Where a hub has a second set screw on the plain shaft, it holds well but raises a dimple that makes later removal harder, so file the burr off at the next change.
Degrease the threads, use a medium-strength, removable thread-locking adhesive, and tighten to the value in the installation instructions. Make sure the key does not stick out of the hub into the spider space, and retighten all set screws after the first shift of running, once the fit has bedded in.
Typical scenario: a screw conveyor coupling keeps chewing through spiders, and at the next stop the set screw is found loose with a polished band on the key. Replacing the key, cleaning the threads and retightening after the first shift deals with the cause; fitting another spider alone does not.
Quick alignment checks on bracket- and flange-mounted geared motors
For radial offset, lay a straightedge across both hub outside diameters at the top, bottom and both sides; daylight under the edge shows offset, and a feeler gauge shows how much. For angular misalignment, measure the gap between hub faces at the same points, where differences mean the shafts are not parallel; for tighter work, use a dial indicator and stay within the limits given for the size.
A jaw coupling accepts some misalignment, but every bit of it costs spider life and bearing load, so treat that capacity as a margin, not as an adjustment tool. Turn both shafts together and recheck after tightening the motor bolts, because bolting down often shifts the motor.
On bracket-mounted (cantilever) geared motors, a bracket welded to the trough or valve body can flex and moves with the casing as it warms up and takes load, so check bracket stiffness, use full-size shims under the feet and recheck alignment once the drive is at operating temperature. On flange-mounted geared motors, alignment comes from the spigot fit, so clean paint and dust off both flange faces and the spigot; if the gap check still shows misalignment, the cause is in the flange or adapter machining, and shims will not fix it.
Dust guards, inspection intervals and when to change the spider
Cement dust is abrasive and packs into the space between jaws and petals, so fit a solid guard that keeps dust off and has a hinged or removable inspection cover. Clean with a brush or vacuum rather than blowing compressed air into the coupling, which only drives dust deeper.
There is no single correct inspection interval for these drives. Start with a short interval after installation, record spider condition each time, and lengthen it once wear is slow and predictable; keep it shorter on drives with frequent starts, reversing, heavy dust or hot material, and on screw conveyors restarted full, where the high breakaway torque loads the spider hardest.
Change the spider when you see cracks, thinned or flattened petals, hardening, swelling, or crumbs and powder under the coupling, or when rocking one hub against the other shows clearly more free play than with a new element. Metal contact marks on the jaws mean changing it at once and inspecting the hubs; a guard that runs warmer than on similar drives is a clue to check gap and alignment together with spider condition, not proof of a fault by itself.
FAQ
Can I use a jaw coupling on a reversing screw conveyor?
Yes, jaw couplings suit drives that start often or reverse. Reversing loads both flanks of each petal, so keys and set screws must be tight and play checks matter more, because any looseness grows fastest on these drives.
What if the geared motor is hard to move for a spider change?
Consider the LMS double-flange version of our Jaw Coupling, which lets the element be changed without moving the machines. Check the available shaft-end distance and the torque against the LMS sizes before ordering.
Does a jaw coupling need lubrication?
No. The spider runs dry, and grease or oil can attack some elastomers and holds dust, so keep the coupling clean and dry.
What temperature limit applies near hot dust or hot casings?
Our jaw couplings are rated for a working temperature of −30 °C to +80 °C. Where hot dust, a hot duct or a hot valve casing makes the coupling area warmer than that, shield the coupling from the heat source and discuss the element choice with us before the next change.
Measure the shaft diameters, keyways and shaft-end distance on your rotary valves and screw conveyors, note motor power and speed, and send them with a photo of the old coupling. We supply LM jaw couplings from LM50 to LM400 to GB/T 5272-2017, with bores from 10 mm to 160 mm in Y, J or Z (1:10 taper) form to GB/T 3852 and keyways to your drawing; standard sizes ship in as little as 10 days and copies made from an old part take from 20 days, and a dimensional inspection report can be supplied with the shipment. Send us your drawing or the measured data, and we will confirm the size and hub gap for each drive.
Need an engineering selection or replacement review?
Send power, speed, shaft diameters, keyway, installation dimensions, drawings or old-part photos. We will review the working condition before confirming the model and quotation.